I sourced more than ten seed varieties (which isn’t a lot considering I wanted more like twenty varieties). I sweated out all my edges last summer constructing a home for them out of salvaged pallets (*in case you missed it*). I setup an additional indoor grow station at our suburban homestead so I’d have plenty of room to start them earlier this year. Mmhmm, all for my love of TOMATOES. Raw, roasted, diced, sautéed, battered, baked, fried…it doesn’t matter as long as it’s tomatoes!
After living through the pandemic where it was hard to find even canned tomatoes – much less fresh – I didn’t want to live like that again. Despite their reputation as being “needy” plants, I saw no choice but to figure out what they needed and give it to them. So, I’ve been on a mission to master tomatoes. I started with a couple of purchased tomato plants I grew in containers at our suburban homestead a few years ago. Those did pretty well (translated: I managed to not kill them.). The following year, I bravely ventured into growing them from seed (my first time trying to grow ANYTHING from seed). I proudly grew six tomato plants from seed. That time, I didn’t just keep them alive, but they got super big and actually produced tomatoes.
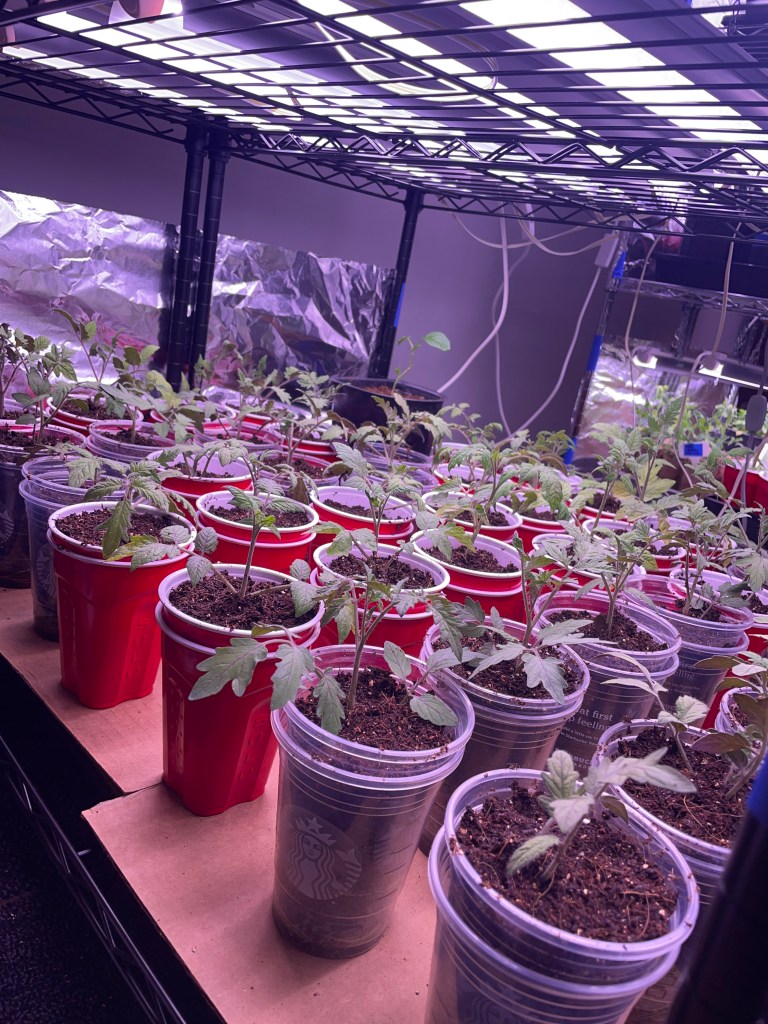
Now, it’s time to stop playin’! Last month, I made some difficult cuts to narrow my tomato selections down to just five varieties. I chose to grow Cherokee Purple, Isis Candy Cherry, Black Cherry, Moneymaker, and San Marzano tomatoes. This year, I tried the double cup plant start method. This is supposed to give these fast growing plants lots of room to establish strong root systems for increased tomato production.
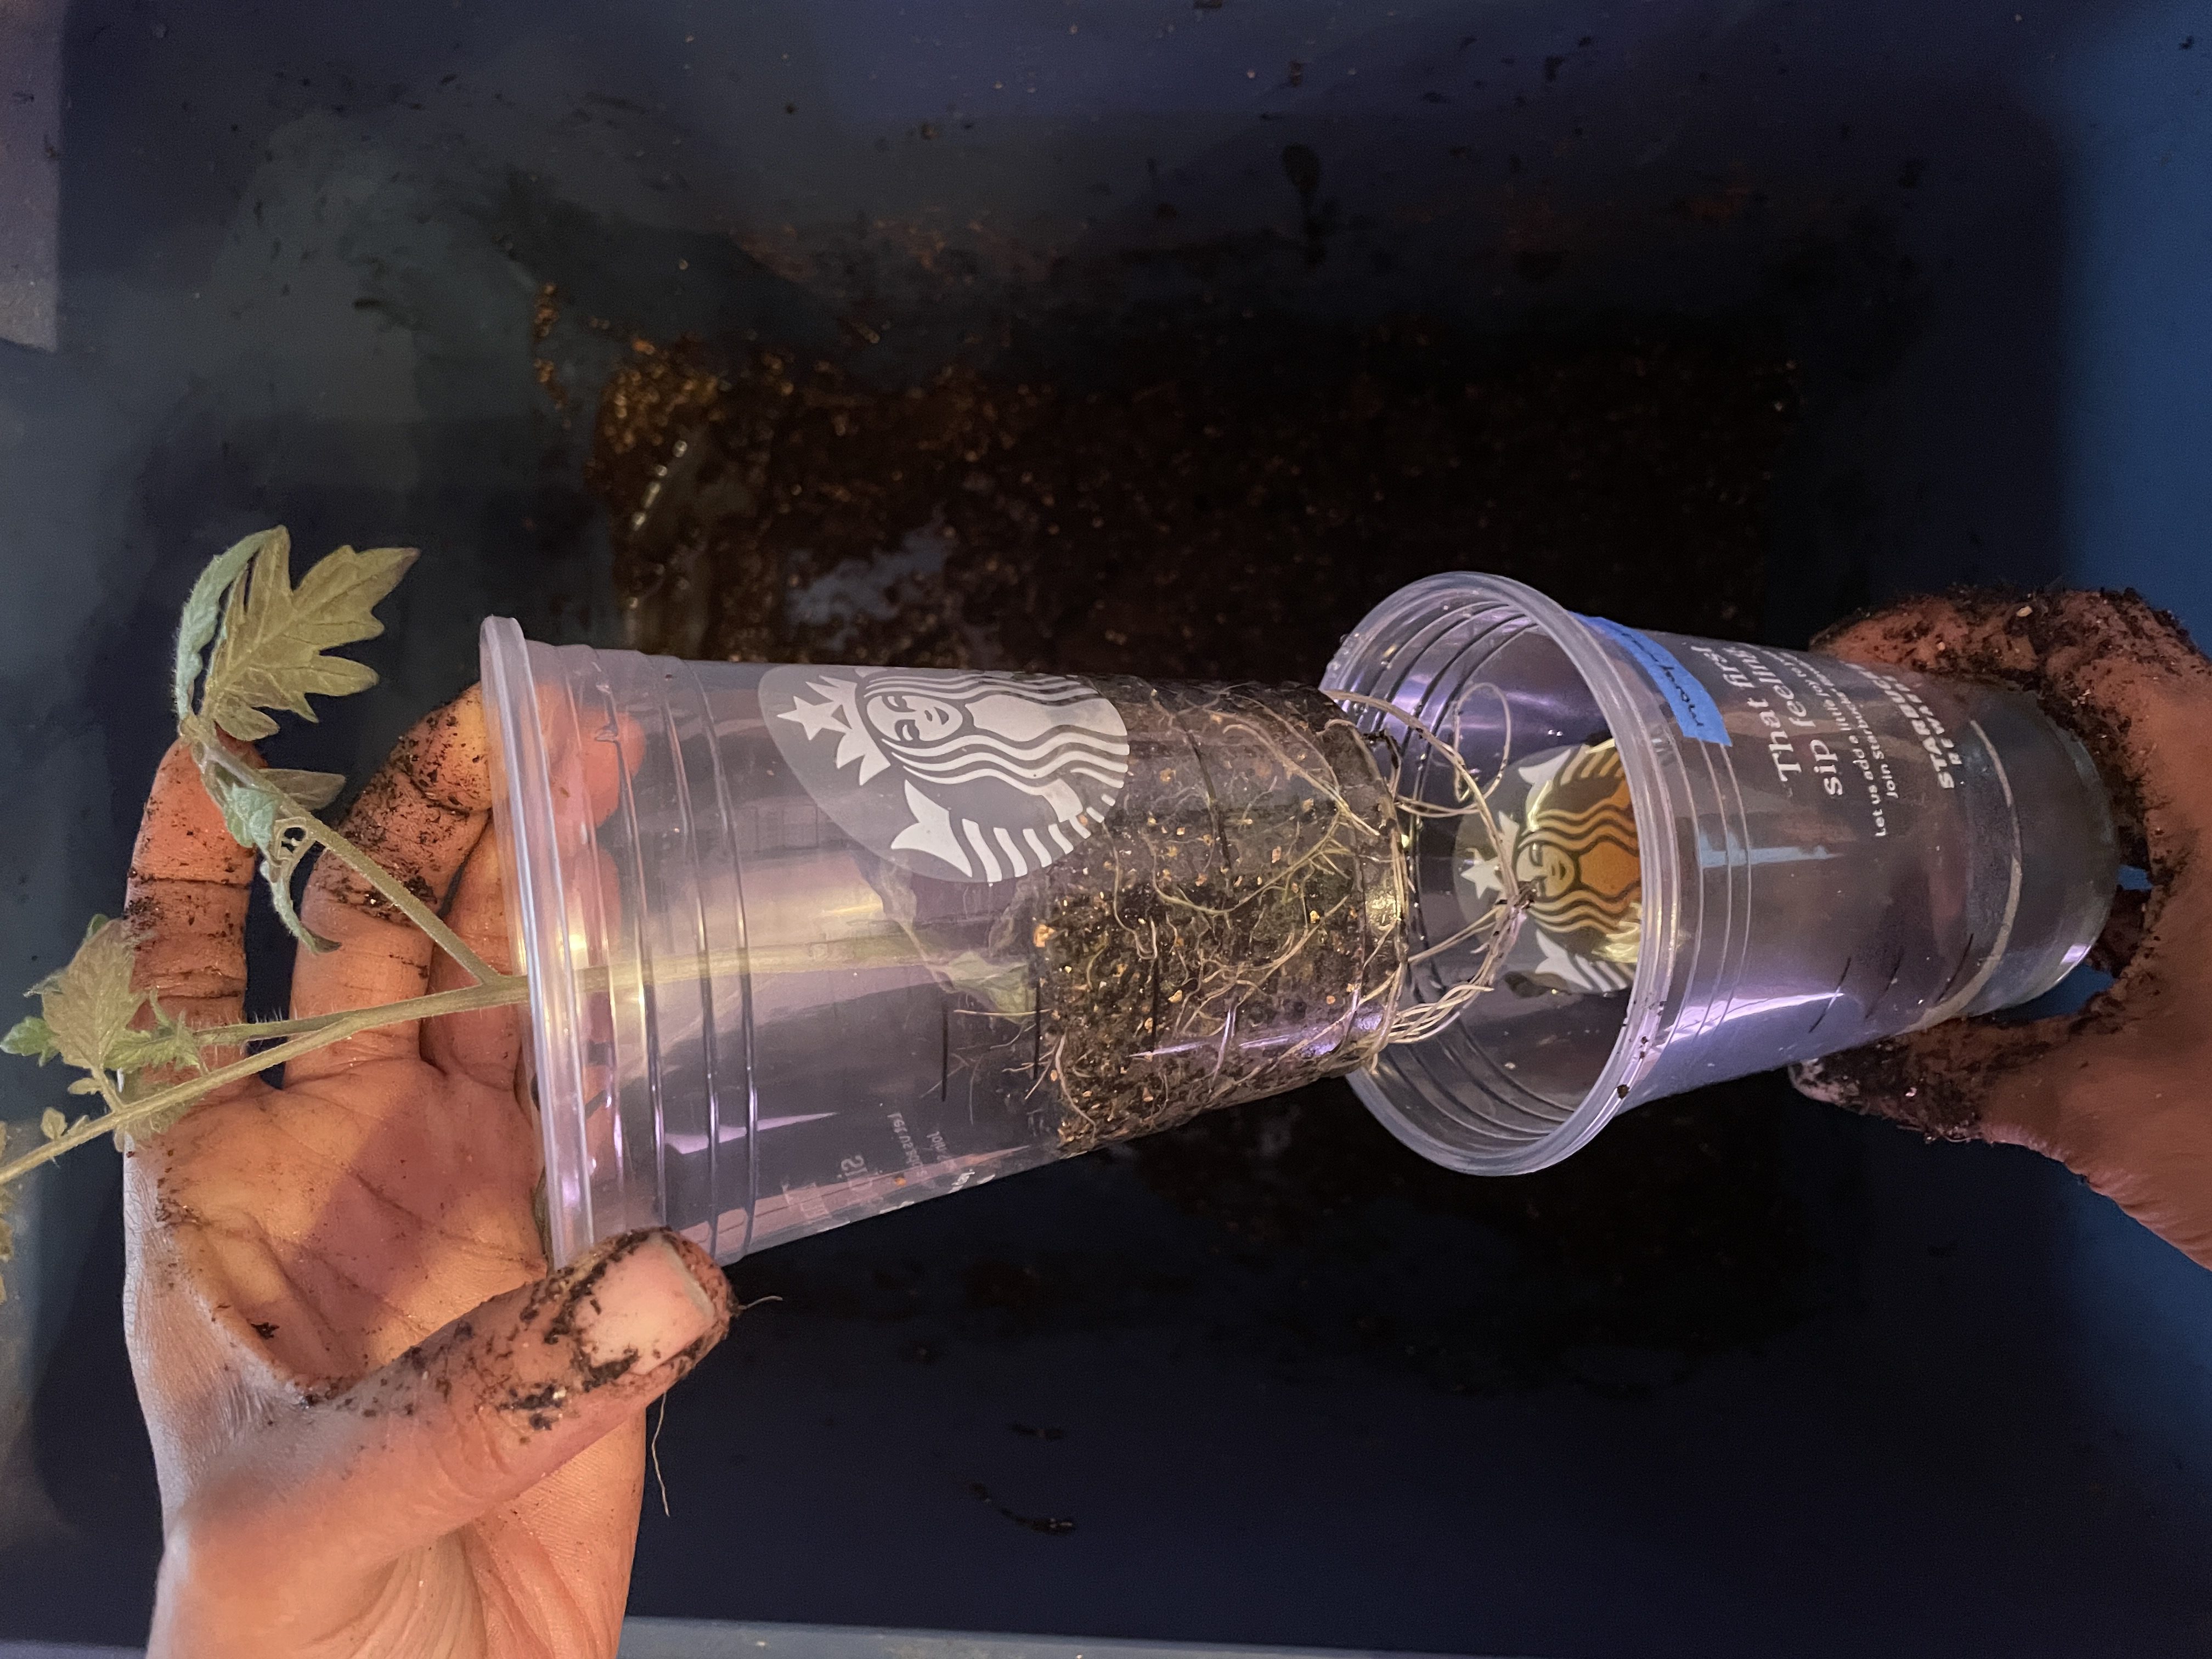
I filled the prepared cups about halfway with homemade seed starting mix and sowed the seeds. The roots eventually grew through the drainage holes at the bottom of the first cup into the second cup – making it easy to bottom water and giving the plant more room to spread its roots.
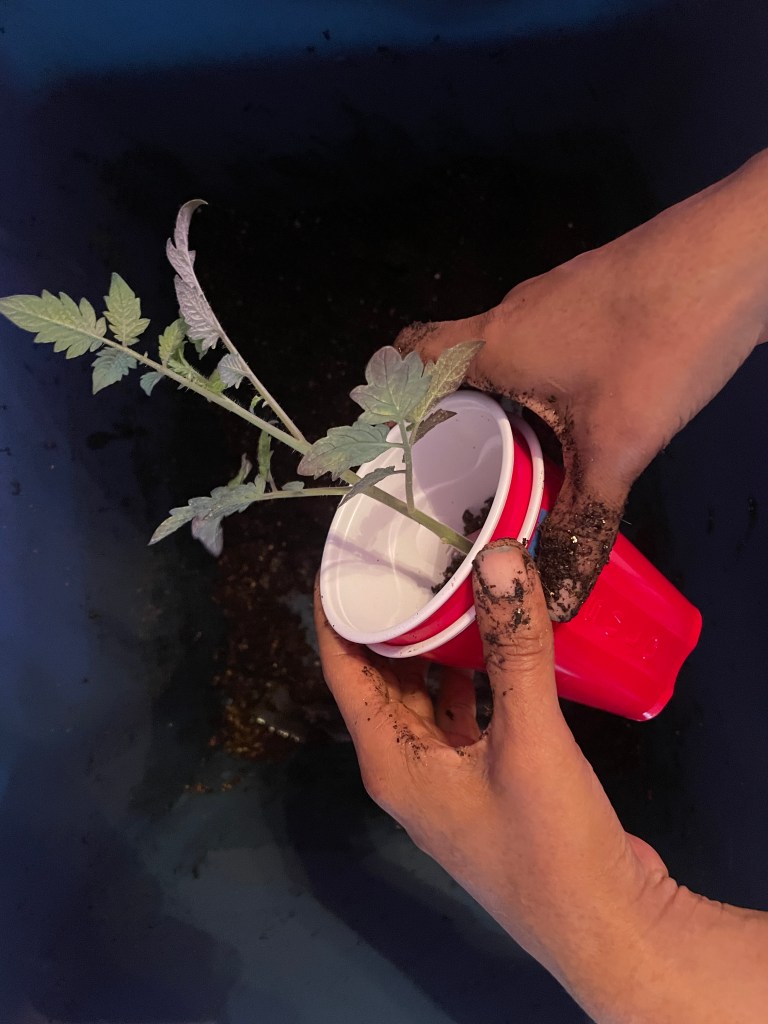
Once the tomato plants grew above the cup rim, I added more soil to fill the cup – burying the plant up to its “neck”. The newly buried stem will develop roots all the way up anywhere it touches soil. This, essentially, creates an additional layer of roots on the plant making it even stronger.


The plants will remain in these cups until they are ready to be transplanted outside (sometime after the last frost expected by the end of this month). They’ll, at least, double in size over the next few weeks and should be plenty strong enough to face the cruel outdoors. When I transplant them outside, I’ll bury them, again, up to their “neck” and allow them to grow another layer of roots – for a total of THREE root system layers. In the meantime, I’ll be working on the farm to build new raised beds with trellis systems for them and their beneficial companion plants. Stay tuned!